Surface topography
Characterising the surface quality of materials at all scales
- Contactless measurements using state-of-the-art instruments developed by the CTP
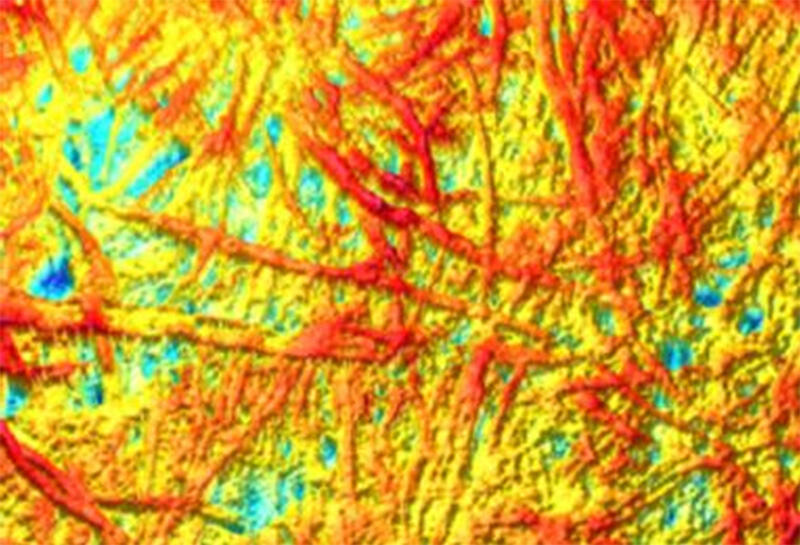
- 3D display of the surface
- Dimensional analysis of surface topography: valley depth, peak height, profile plotting
Generate Value...
Surface finishing processes are developing constantly, bringing added value to materials such as communication resources.
Applying a relief effect using processes such as 3D printing, 3D varnishing, embossing, foil stamping and holograms is a means of creating distinctive packaging, while texturing and embossing techniques can be used to create original paper and tissue surfaces that catch consumers’ eyes.
Traditional standardised methods for testing smoothness or roughness by measuring the rate of airflow give general information on surface smoothness but are highly inadequate for characterising surfaces with relief. It is often necessary to go further in order to understand the relationship between the roughness of a material and the desired function or visual aspect.
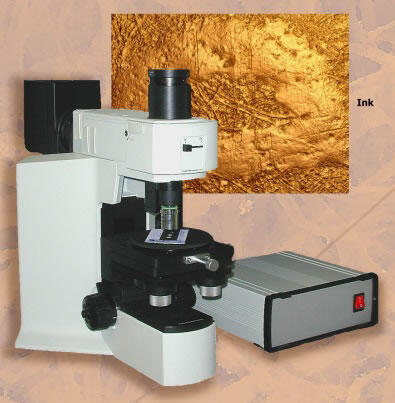
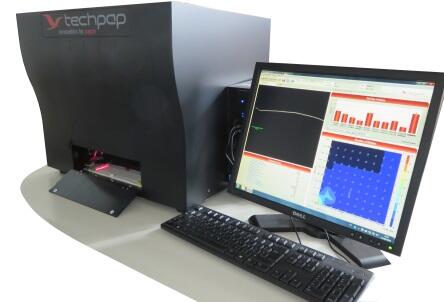
Such characterisations are now possible using the TOPO3D and 3DMAP instruments, which were developed at the CTP and complement each other in terms of measurement scales.

Bulky paper
Context and performance
The analyses can be performed on any diffusing material and are particularly well suited to cellulose fibre-based substrates. The possibilities are enormous, from determining the thickness of coats of ink or varnish to analysing local defects (scratches, tears, deposits) or characterising the dimensions of textured surfaces (tissue creping, board, label or
tissue embossing, braille marking).
They generally provide a clear indication of the relationship between the surface condition of a given material and the desired function (friction/sliding, abrasiveness, printability, visual aspect, etc).

Topo3D instrument
Content of services
One of two contactless topography measuring instruments is used, depending on the issue being studied.
- The Topo3D, with a vertical resolution of 0.1 µm and a measurement range of a few mm², is used for
determining all the roughness parameters and analysing surface micro-deformations: coat scratches, ink or varnish thickness, watermarks, etc. - The 3DMAP, with a vertical resolution of 4 μm and a measurement range of about 10 cm2, is used for the dimensional analysis of creped, textured or embossed surfaces.
 3DMAP instrument
Deliverables
On completion of the analyses, a full report including all the results and images of the surfaces studied (profiles, colour 2D and 3D views) is compiled. Conclusions regarding the issue at hand can then be drawn, in order for instance to identify the cause of local defects, define the height of 3D varnish that is perceptible to the touch, or quantify the embossing depth required to increase the absorbency of a tissue product.